Gun Model Creation (#3)
So for my game and my project in general i need to create a gun model in Maya. The model i will be using is the Gravity Gun from Half Life 2. The reason i want to use this gun is because I've spent many hours using it in Garry's Mod and so I'm quite familiar with it. Not only that but it's a very iconic weapon and has many pictures and schematics out there on the internet.
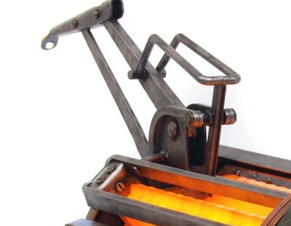
 This is the sort of thing I want to make. It will also mean that I use a variety of tools during its creation which i can expand upon in this blog in later posts.
I believe it'd be more appropriate for the projectile to just be the standard bullet rather than a laser. This is because there were not any requirements set for the type of projectile and also the design of my game would be easier using singular projectiles rather than 1 long collision for a laser beam.
On to the model creation itself. This is my first time using Maya but I've learnt a bit before actually using it. The easiest way to start of creating a model is to start from basic shapes. Cubes, spheres, cylinders etc.. It simplifies the process a lot especially for someone like me who hasn't created models before and has no artistic talent whatsoever (I struggle drawing stickmen).

This allows me to give my gun proper proportions easier.
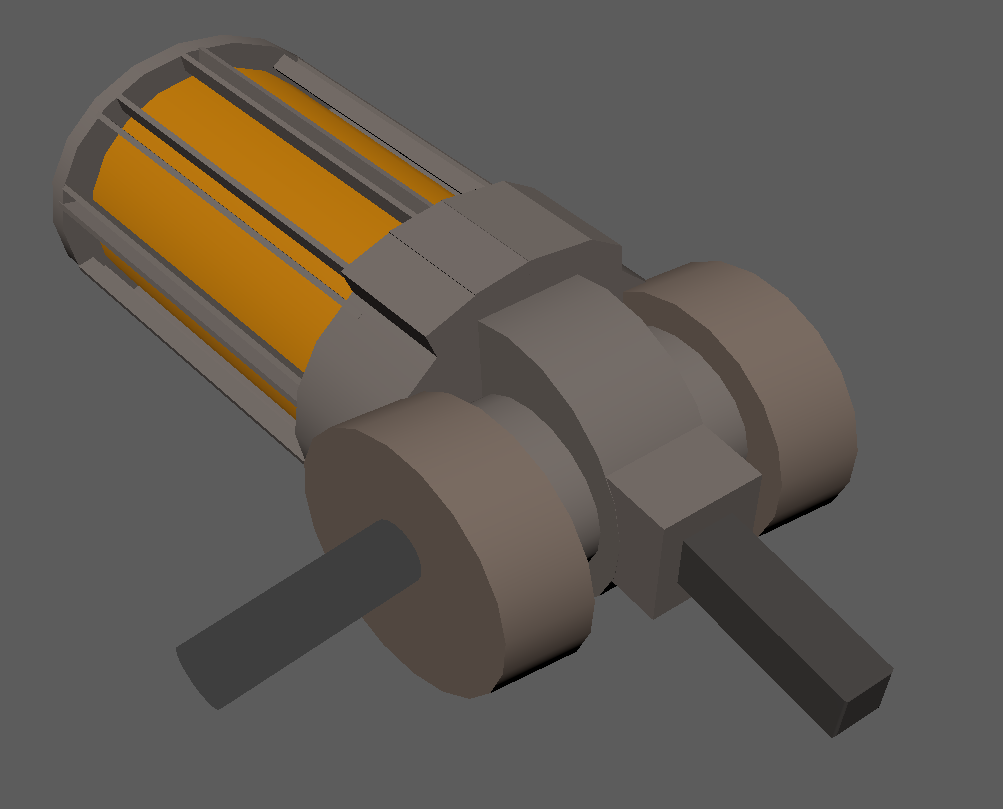
The next thing i did was i created a cylinder for the inner part of my gun. I then created another cylinder and attached it to the front of my first cylinder, i then created cubes and made them very thin but long and placed them all around the outside.
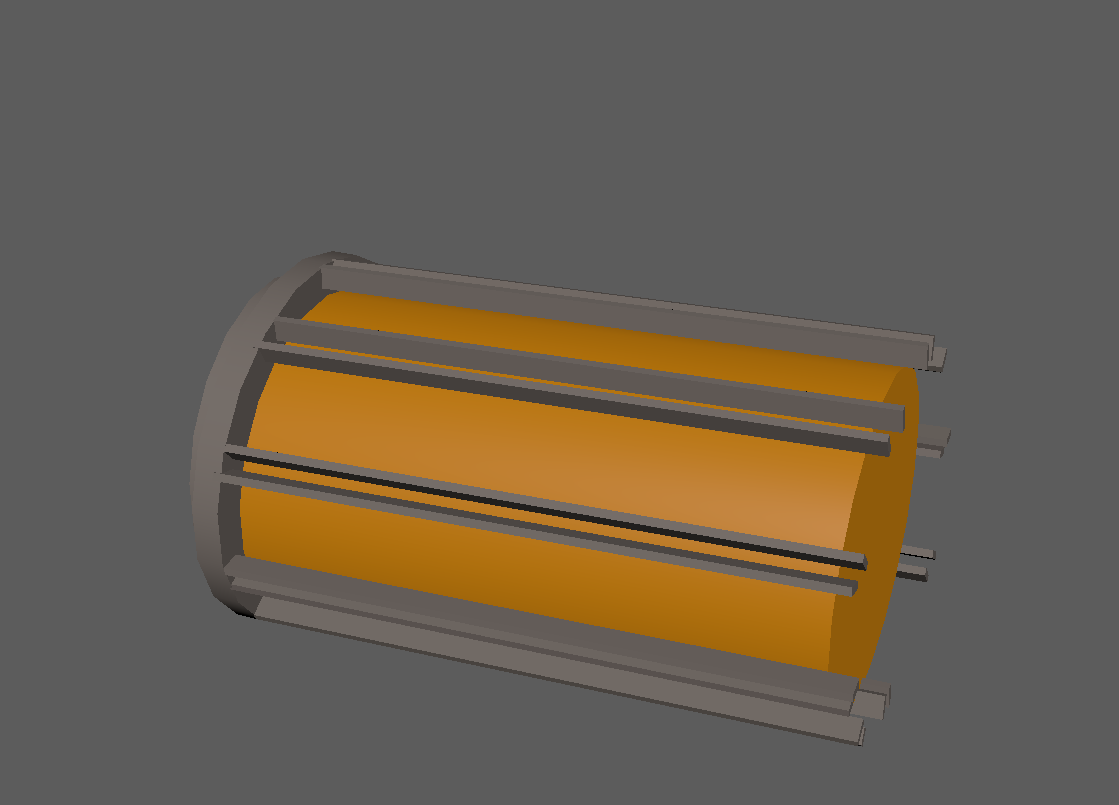 I also added materials to the objects and changed the colour to orange for the middle bit to match the reference images as shown above.
The tools i used to create this were: Move, Rotate and Scale
 You can cycle through these by pressing either W for Move, E for Rotate and R for Scale. They are very easy and simple to use and are very similar in functionality to the tools in Unity.
The next thing i did was work on the back of the gun. I first created another cylinder, and attached it to the back. I then use the extruding tool on the faces and extended them to get the slightly raised part as shown in the reference images.
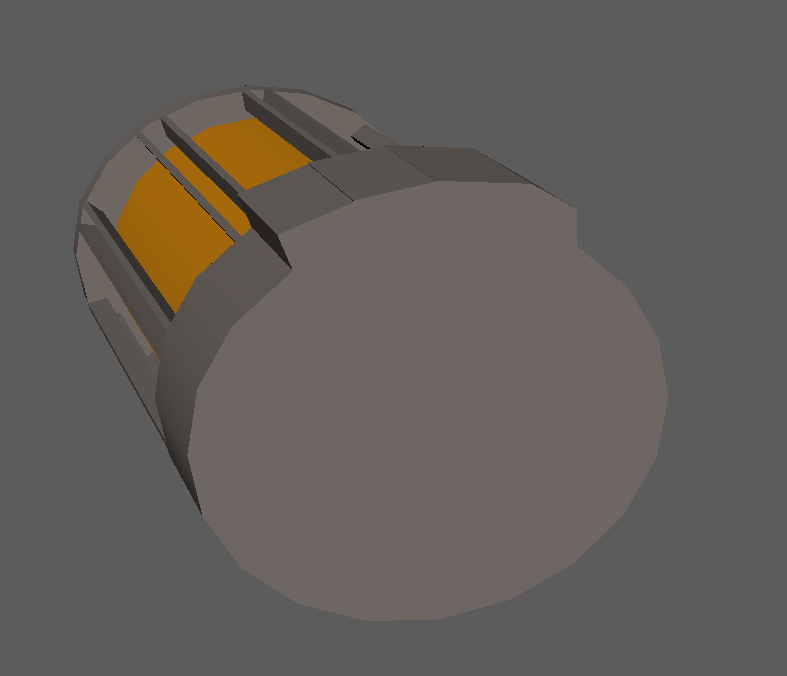 To use the extrusion tool you hold down the right mouse button to bring up the radial menu and then click "Faces" I then selected the faces i wanted to extrude, i then pressed CTRL + E to use the tool.
 The back part of the gun is pretty much made up of 2 large cylinders on either side of another large cylinder placed in the middle, attached by 2 smaller cylinders. The handles are circular and cube shaped respectively.
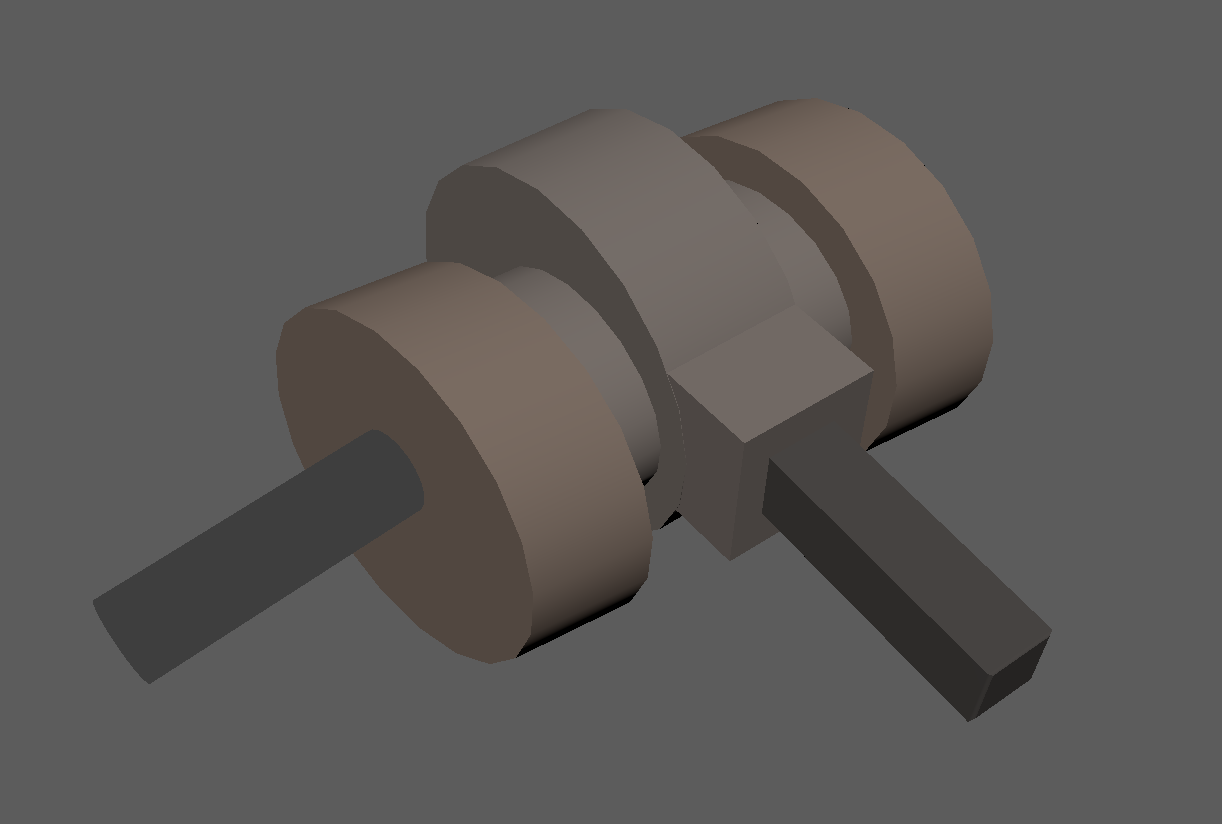 It's a very simple design but I feel it greatly resembles and matches the reference images, the only thing it's missing is some slight embellishment on the exterior and better materials for nicer textures.
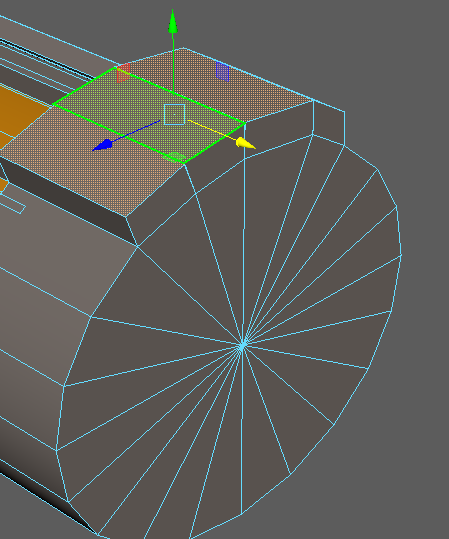
 I did do some extra work on the bottom handle though, i extruded the bottom and used the vertices tool to bring the bottom vertices closer together creating a more curved and realistic design.
 Now the hardest part will be the front. I had to first create 1 more cylinder without an inside. In Maya it's called a "Pipe" I then created a smaller cylinder inside and coloured it like the middle, this creates the illusion the gun continues through the previous 2 cylinders.
 Now finally i need to create the stabilising arms. This is the more troublesome part is these arms are made up of a variety of different shapes at odd angles.
 This is what i ended up with. I created a cube and a cylinder and placed them inside the other to created the object you see here:
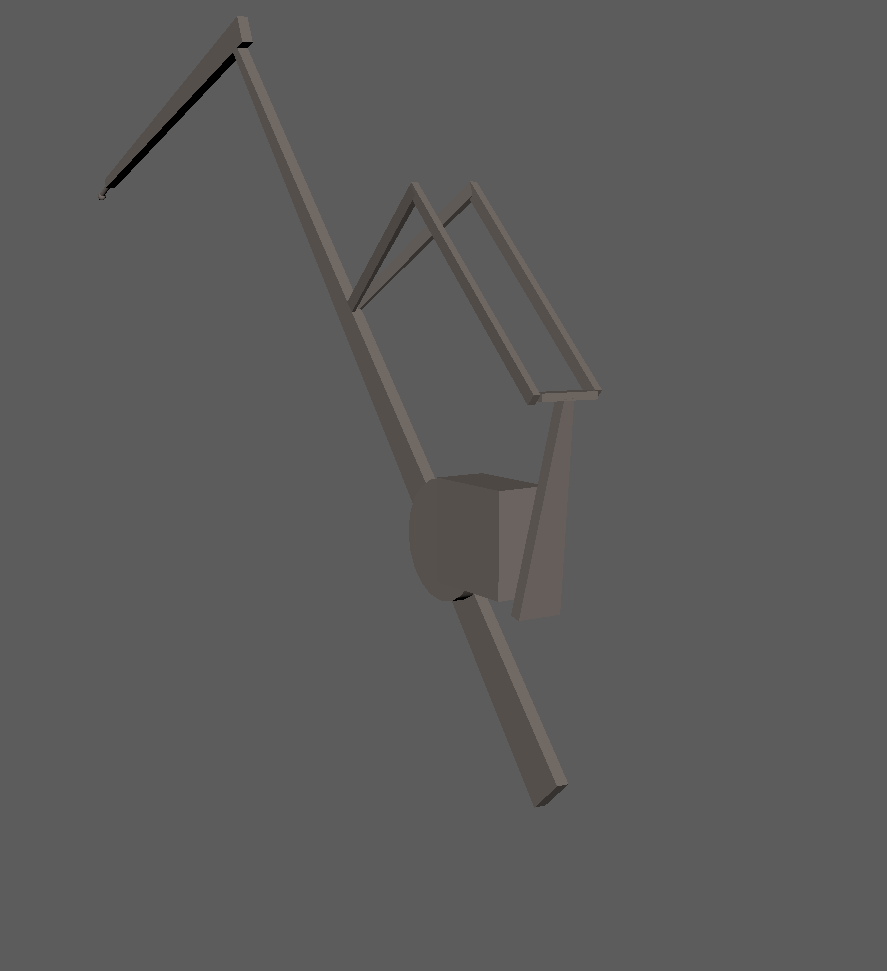 I then created a cube behind it, i elongated it and create 2 more cubes on top, i then attached 2 cubes as arms angling up, and then attached 2 more angling down towards the main arm. I used the face tool and made the face smaller for the bottom-most stabiliser cube. I also used the vertices tool and pulled the vertices in to create some nicer looking connections on the arms
 for the final bit i created a very small cylinder that looks like a pipe and attached a small sphere to it to get the final part of the arm to look similar to the reference images.
 I need 3 of these sets of arms so what i did was i attached all of the objects to the main arm in the outliner and i duplicated the parent and children using the duplication tool CTRL + D, i then rotated the arms and lined them up to look like they are in the correct positions.
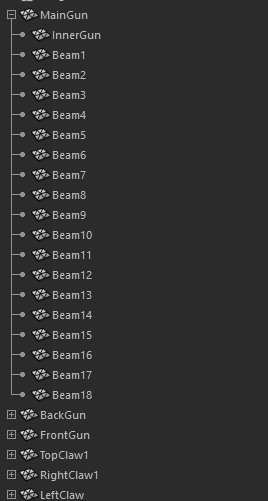
 I then cleaned up my Outliner hierarchy, i placed all the objects in to a parent and renamed them all to more easily identify what they are.
 I also went inside my models and removed the redundant faces by using the faces tool, clicking on the faces and pressing the delete key, i also made sure that there were no unnecessary edges/vertices.
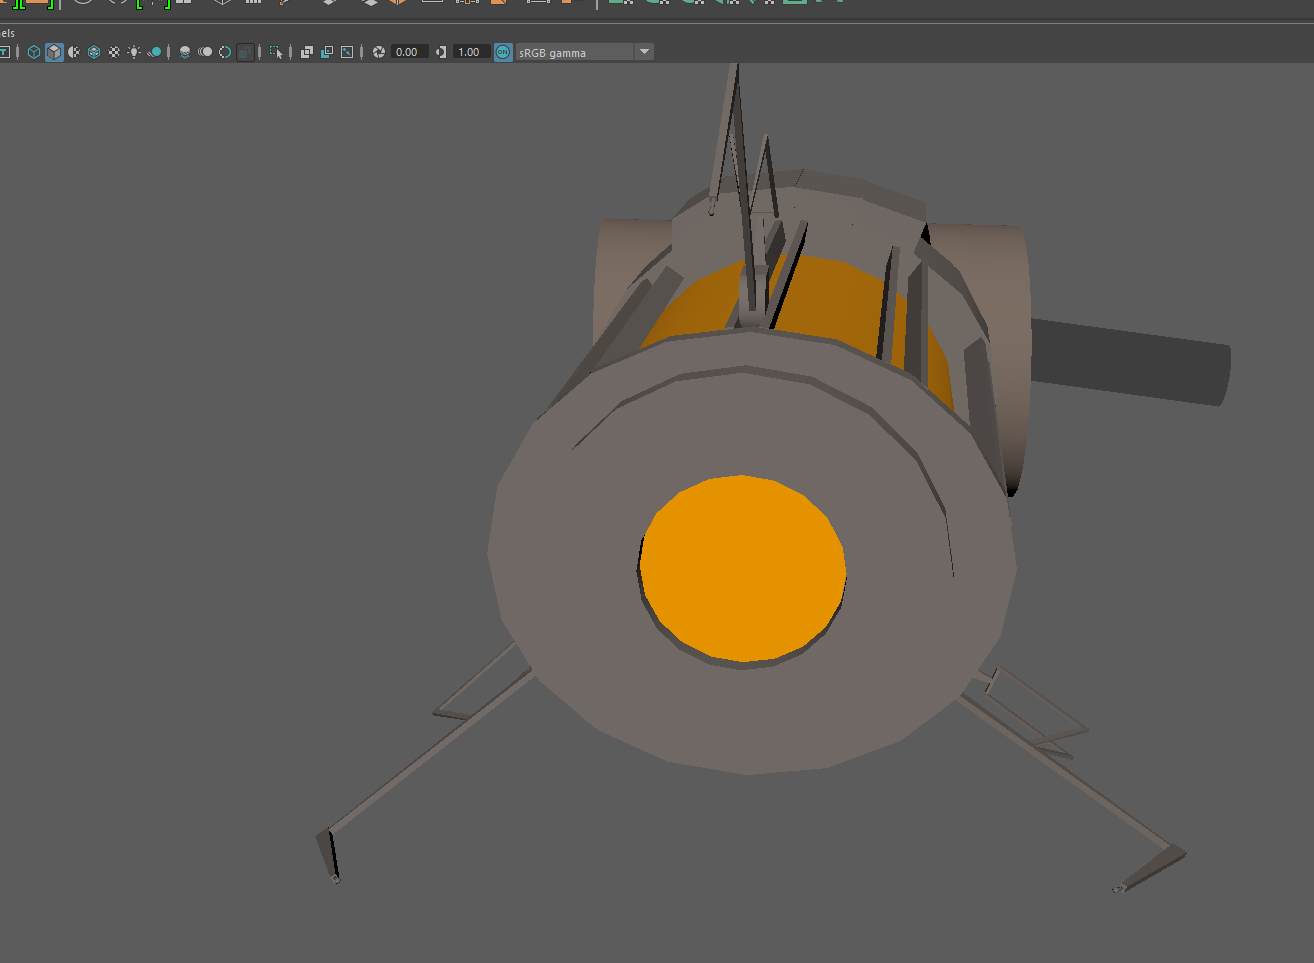
Lastly for after effects, I used the Hypershade tool in Maya with the materials and added a glow affect to my inner cylinder and the front disc.
 The hypershade tool is the blue sphere with a white circle in it, there were other ways to make it glow like using particle effects which i tried but I was unfamiliar with how to use them and decided this way was an easier and more resource cost-effective way of achieving my desired glow effect. Now if i add a light-source and render the gun it looks like this:
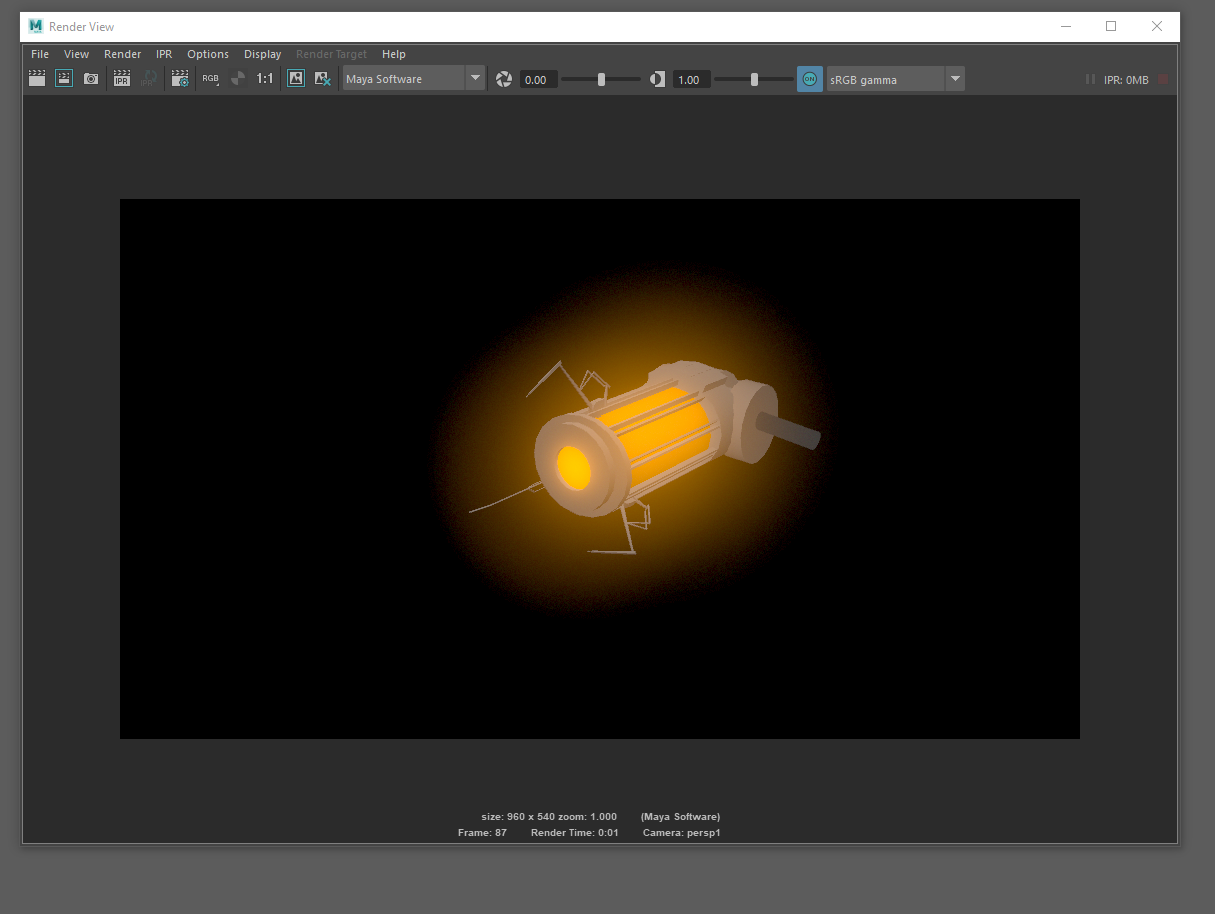 I'm very proud of my first model i've ever created. The glow might be a bit too much but we will see how it is after we add it to the game.
I believe it'd be more appropriate for the projectile to just be the standard bullet rather than a laser. This is because there were not any requirements set for the type of projectile and also the design of my game would be easier using singular projectiles rather than 1 long collision for a laser beam.
On to the model creation itself. This is my first time using Maya but I've learnt a bit before actually using it. The easiest way to start of creating a model is to start from basic shapes. Cubes, spheres, cylinders etc.. It simplifies the process a lot especially for someone like me who hasn't created models before and has no artistic talent whatsoever (I struggle drawing stickmen).
The first thing I did to start off with is i imported my schematics
This allows me to give my gun proper proportions easier.
The next thing i did was i created a cylinder for the inner part of my gun. I then created another cylinder and attached it to the front of my first cylinder, i then created cubes and made them very thin but long and placed them all around the outside.
The tools i used to create this were: Move, Rotate and Scale
The next thing i did was work on the back of the gun. I first created another cylinder, and attached it to the back. I then use the extruding tool on the faces and extended them to get the slightly raised part as shown in the reference images.
Lastly for after effects, I used the Hypershade tool in Maya with the materials and added a glow affect to my inner cylinder and the front disc.
Comments
Post a Comment